Adding music to videos can dramatically enhance their impact, helping to set the mood, evoke emotions, and make your content more engaging. Fortunately, the process of integrating music into videos on your computer has become easier than ever, thanks to a variety of intuitive software and tools. Whether you’re a beginner or an experienced editor, this guide covers the simplest methods to achieve professional results.
Many computers come with pre-installed video editing software, which is often sufficient for basic tasks like adding music. Here’s how you can use them:
For Windows Users: Windows Video Editor
1. Open the Photos app and select the “Video Editor” option.
2. Create a new project and add your video file.
3. Click on “Custom audio” and then “Add audio file” to upload your music.
4. Adjust the timing and volume to suit your needs, and export the final video.
For Mac Users: iMovie
1. Launch iMovie and start a new project.
2. Drag and drop your video into the timeline.
3. Import your music file and place it on the audio track beneath the video.
4. Adjust the audio’s length and volume, then export your project.
Online video editors are convenient for those who want to avoid downloading software. These platforms work directly in your browser and offer straightforward options for adding music:
Kapwing
1. Upload your video to Kapwing’s website.
2. Click on “Audio” and upload your music file.
3. Sync the audio with your video and adjust the volume as needed.
4. Export and download your edited video.
Clipchamp
1. Sign in to Clipchamp and upload your video.
2. Select “Audio” and choose from their free music library or upload your file.
3. Edit the audio timeline and preview the video before exporting.
These platforms typically have free versions with basic features, while premium plans unlock advanced options like watermark removal and higher-quality exports.
For users seeking more control and advanced features, professional video editing software is ideal. While these tools may have a steeper learning curve, they offer unparalleled flexibility:
Adobe Premiere Pro
1. Open your video project and drag your video and audio files into the timeline.
2. Adjust the audio placement and levels using the tools in the audio panel.
3. Export the video in your preferred format.
Final Cut Pro
1. Import your video and audio files into the library.
2. Place the audio beneath the video on the timeline and sync them.
3. Use audio filters to enhance sound quality, then export the video.
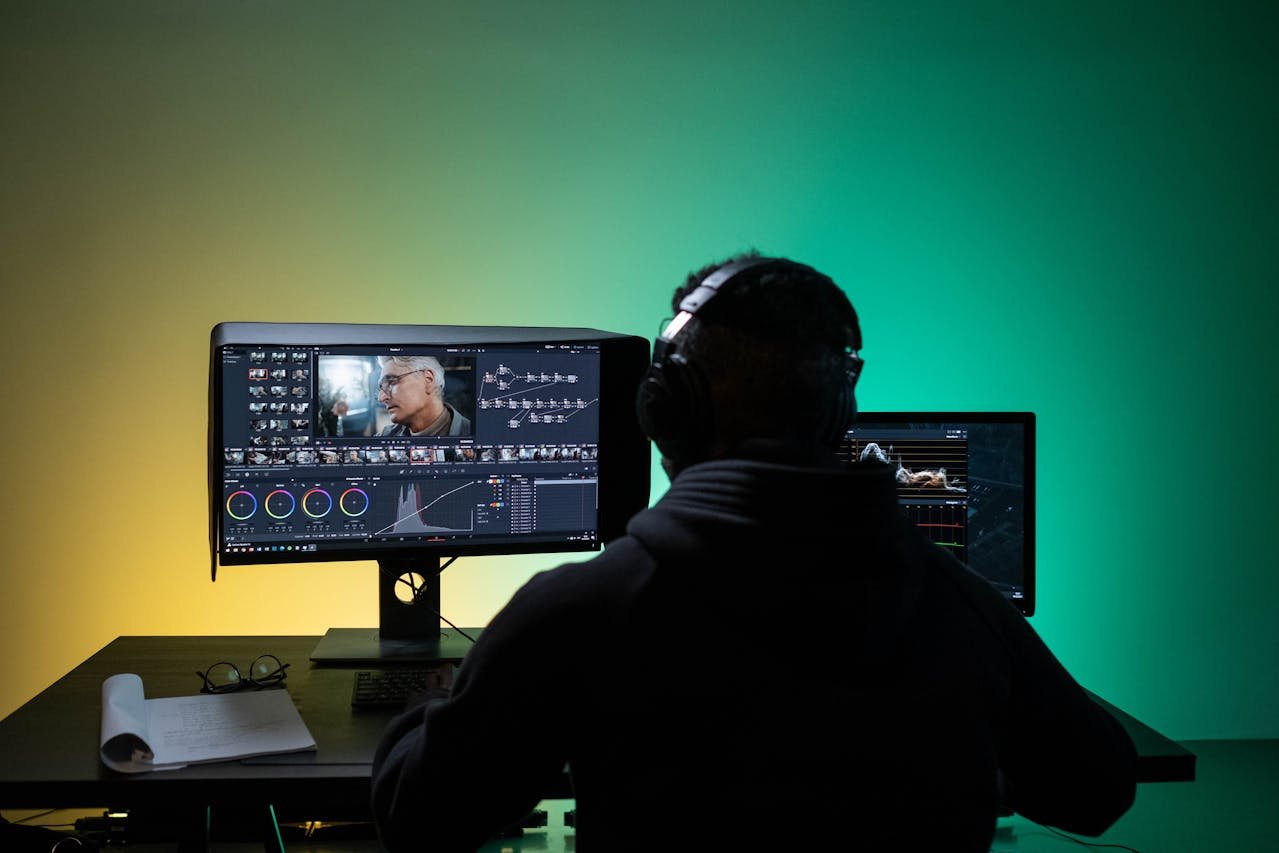
DaVinci Resolve
1. Import your media files into the “Edit” tab.
2. Drag your audio file to the timeline and align it with the video.
3. Adjust audio properties in the “Fairlight” tab for fine-tuning.
4. Render the final video in your desired resolution.
Some mobile apps have desktop versions, allowing you to enjoy their user-friendly interfaces on a bigger screen:
Canva Video Editor
1. Upload your video and music files to Canva’s interface.
2. Drag the music file to the timeline and sync it with your video.
3. Adjust the volume and trim the audio if needed, then export the final video.
InShot
1. Install InShot’s PC version or use its web-based editor.
2. Add your video and music files to the editor.
3. Customize the audio settings and export your project.
Adding music to videos doesn’t have to be complicated. Whether you’re using built-in tools, online platforms, or professional software, there are plenty of options to suit every skill level and requirement. Experiment with different methods to find what works best for you, and elevate your videos with the power of music!
To know more about our platform, visit our About Us page.

Comments