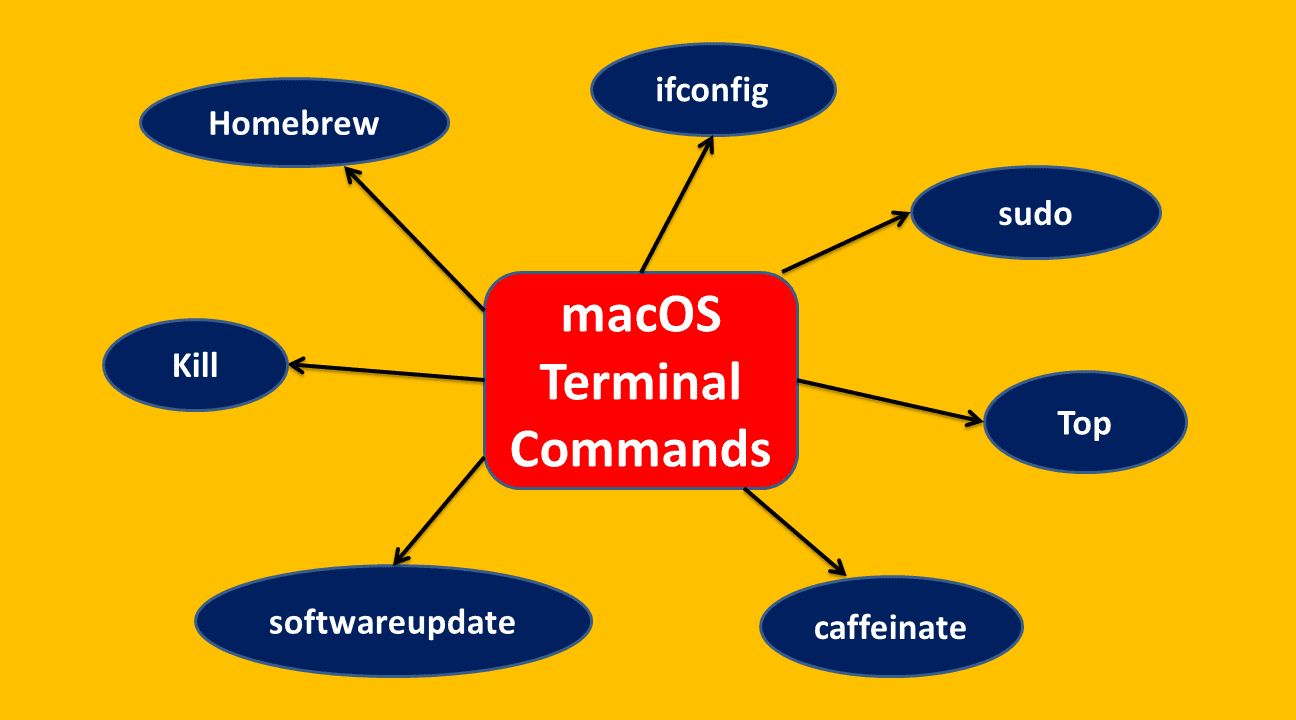
The macOS Terminal is a powerful interface that gives users direct access to the complex inner workings of the operating system. Its ostensibly complicated nature sometimes puts people off, yet being acquainted with key commands opens the door to increased productivity and extensive control over your Mac environment. Exploring these commands gives users the ability to manage and customize system functions more effectively. Here are seven crucial Terminal commands every macOS user should know:
Homebrew is a package manager for macOS that simplifies the installation of software and tools. Use Terminal's installation command to get started. Maintaining it updated allows you to use 'brew update' to get the newest packages. Use 'brew install' and the package name to install software. Use "brew search" to find available packages and "brew list" to list installed ones. Use 'brew uninstall' to remove any unnecessary applications. Use "brew upgrade" to update every package that is installed. "Brew doctor" finds frequent problems, which makes Homebrew a useful tool for Mac software management.
To install Homebrew, use the following command in your Terminal:
/bin/bash -c "$(curl -fsSL https://raw.githubusercontent.com/Homebrew/install/HEAD/install.sh)"
The 'ifconfig' command, short for 'interface configuration,' displays network interface details on Unix-based systems like macOS. Entering 'ifconfig' into Terminal displays IP addresses, active network interfaces, and associated information. Add the name of the interface you want to read information about, such as 'ifconfig en0,' after 'ifconfig.' This command helps with system administration, setup, and troubleshooting of networks by giving detailed information about network interfaces.
ifconfigIn macOS Terminal, 'sudo' elevates user privileges, granting temporary administrative access for executing critical commands. When'sudo' is added before a command that asks for the password, it allows approved installs, modifications, and settings of the system. With this enhanced access, users may install software, make significant modifications, update system files, and carry out administrative duties that require higher permissions in order for the Mac to operate properly. It also guarantees secure control of the system.
sudo The 'kill' command in macOS Terminal ends a process or an application. The provided process can be ended gently by using 'kill' followed by the process ID (PID). On the other hand, 'kill -9' forcefully ends a process without following the standard methods for doing so. Users may efficiently manage sluggish or problematic apps by using the 'ps' command to identify the PID and then executing 'kill' to stop or restart troublesome processes when regular techniques fail. This ensures system stability. For example if you want to stop a process with Process ID (PID) 1234, use following command:
kill 1234
The 'top' command in macOS Terminal provides real-time insights into system processes, CPU usage, memory allocation, and more. Entering 'top' displays a dynamic view that is always changing and displays information such as process IDs, memory and CPU utilization, and active tasks. This command helps users effectively manage and improve the performance of their Mac by helping to monitor system performance, detect resource-intensive programs, and comprehend overall system activity.
top
The 'caffeinate' command in macOS Terminal prevents the system from sleeping or idle mode for a specified duration. Users may keep the machine awake by entering 'caffeinate' followed by parameters like '-t' for time or '-u' for until a specified event happens. This command guarantees continuous work, avoiding sleep-related disruptions during lengthy procedures, downloads, or when particular activities necessitate the Mac to be inactive for a predetermined amount of time. To prevent the system from sleeping for a specific duration, let's say 1 hour (3600 seconds), you would enter the following command:
caffeinate -t 3600
The 'softwareupdate' command in macOS Terminal manages system updates. By typing 'softwareupdate -l', users can list available updates. Executing 'softwareupdate -i ' installs specific updates, while 'softwareupdate -i -a' installs all available updates. By automating the update process and making sure the installed apps and macOS system are up to date with the most recent security patches and feature additions, this command improves system speed and stability while fortifying security measures.
softwareupdate -i -aMastering these Terminal commands offers Mac users increased efficiency and control over their system. Although using the Terminal might be frightening at first, getting comfortable with these commands helps users do jobs more quickly and explore more of macOS's features. Always use caution and make a backup copy of any important data before running commands that might have a big impact. With these tools at your disposal, you'll be able to move confidently and skillfully throughout the Mac environment.
Comments